Saw 3 Nice HO Layouts in the Houston Area Yesterday
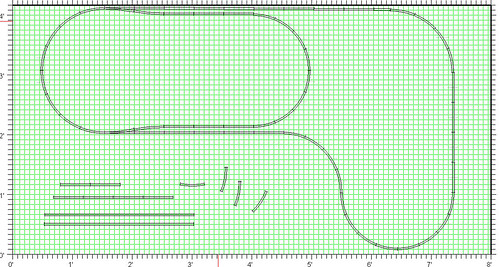
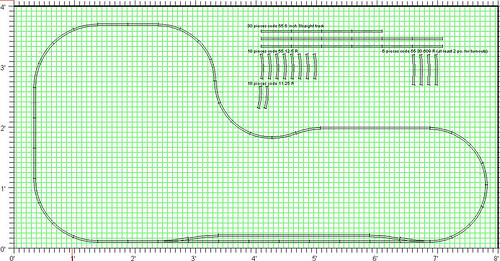
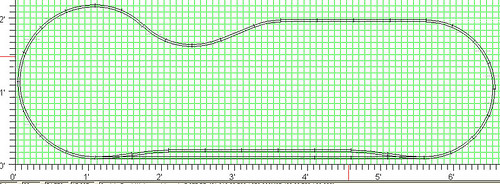
| Don't forget November is National Model Railroad Month The San Jacinto Model Railroad Club are sponsoring the annual fall tour. These tours start in the middle of October and end with the first weekend in December. See this Post for the 2005 Schedule. Saw some nice HO stuff yesterday. Kind of early in the tour yet, but anyways... The High Points Met Loren Neufeld at Jim Lemmond's HO Cedartap Railroad. Loren is perceived as a Master among the Houston area model railroaders. His scenery designs are....Well breathtaking. The Cedartap Railroad is under construction with 30% of the scenery. What scenery there is is marvelous! The construction method is a continuous shelf around the perimeter of the building walls and a center peninsular yard.
Next stop: Robert Ashcraft's HO Raton and Western Railroad. This is a 2 year old, 18' by 22' layout. It seems much larger though, as it spans 2 rooms! I'd like to see it when the scenery is completed!
Last stop for Saturday's jaunt was: Eddie Carol's HO and HOn3 Glenbrook Valley Railroad. Branchline of the Denver and Rio Grande. Construction started in 1996. The railroad is situated over Eddie's garage. When completed it will be stupendous!. Hell, It's stupendous now! As you walk up the stairs to the train room, you pass under a double-track helix that looks to be completely hidden by a mountainous vista. The walls in the stairwell are partially covered with scenery and tracks. Eddie has made great use of almost all the available space for his pike. This not just your average around the walls model railroad.
Eddie says the scenery is 60% done. All I can say is WOW! If you get a chance to see this dual guage railroad, I say GO! People and trains - I saw some really nice model railroads and met some really nice folks this weekend. Never ceases to amaze me that folks will just open their doors and let you walk right on in...Most answer questions freely about what techniques they use and what equipment they are running. Plus the significant others of these artists are very tolerant (and friendly if they are in evidence) of thier spouses railway follies. Most MRR's are tolerant of other scales. (I've yet to see an NScale layout) Pictures - I'm always a little leary of asking if I can take pictures (based on the Model Railroad Layout Tour Rules of Etiquette - more on these later in the week) and I need to get over that. The hard work and dedication these folks have put into thier hobby is evident in the quality that I saw this weekend and should be shared. I think I should start asking if I can take a few quick pictures. |
posted by TexasT's at 10:50 PM
0 comments
![]()
![]()
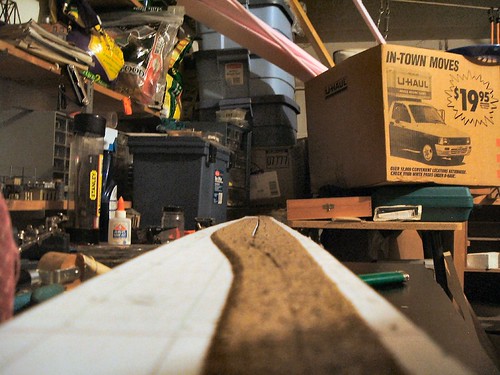


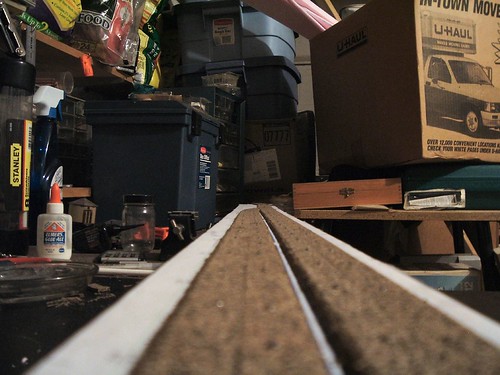
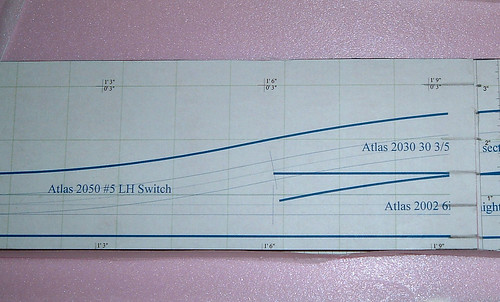
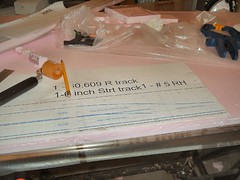

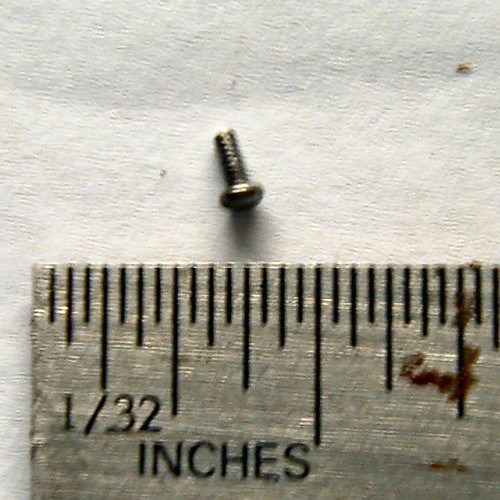
![[Ha-Ha]](http://www.trainboard.com/graemlins/LOL.gif) coupler conversion this weekend, I dropped one of those Microscopic (read: irreplaceabl
coupler conversion this weekend, I dropped one of those Microscopic (read: irreplaceabl![[@#$%^]](http://www.trainboard.com/graemlins/cursing.gif) and hit the floor again...
and hit the floor again...