Feb 26, 2006 - Changes completed - for now...

Feb 24, 2006 - Changing my Template! Bear with me. This is a work in Progress!

www.flickr.com
This is a Flickr badge showing public photos from TexasT's tagged with modelrailroading. Make your own badge here.
My Photo
Name:
Location: Houston, Texas, United States

It ain't the years, It's the mileage. I was raised a military brat, and wanderlust still comes over me every 3 or 4 years. Still love to travel.

Sunday, February 26, 2006

Ch-Ch-Ch-Chan-ges!

Made some changes here.

Went looking for some three column templates last week...Found some nice ones at Thur's Templates. Thur Broeders runs several blogs and sites, one of which he has a pile of nice templates on. He lives in Rotterdam, NL - GO ORANGE!

Thanx, Thur!

To summarize the changes:
  • Installed new template
  • Added My Links
  • Tweaked some pictures so they would work with the new template
  • Added flickr.com and trainboard.com (not sure about this one, yet) graphic links
  • Changed left side content titlebars from something and something else to messages and my other spaces
  • Added flickr badges one on the upper right - one in the footer
  • Added NScale webring badge to the footer
  • Added email link
  • Added the picture to my header and changed the font color and sizing. Added some coding to make it look the way I want it to look.

Been practicing my html skills can you tell?


Feel free to leave me comments on the new look!

Thursday, February 23, 2006

Speaking of Cabeese Part 2

I must say the level of detail is quite different on the end rails for the ca-bashes I've been working on.

Of course the original models were manufactured years apart as well. But let's have a look shall we?

2006_0223speakingofcabeese0001

By the way - looks like these will get another coat of paint....Jeeeeeeez.

On the left, here we have the MicroTrains endrails. 2d from the left are the ones that came off my Con-Cor Long Bay Window Caboose. Next up are the original Atlas ones that came off the SSR I'm working on. On the right are the rails from the Atlas EV hack I just bashed - which was pretty new. They'll go back on the car. The details while all containing basically the same components are much better on the MT rails. I think it's the Delrin they are made out of. As opposed to run of the mill plastics the other are made of.

'Nuff said.

Tuesday, February 21, 2006

Speaking of Cabeese - How About a Little Coupler Action?

The LBW and EV Cabeese are ready for decaling. Wish (at this point) I'd have taken pictures of ALL the Cabeese before I started to work on them. C'est la vie!

Yesterday I worked on a MicroTrains coupler conversion for my MoPac Long Bay Window Ca-Bash. Thought I'd share that. The MicroTrains conversion tables say to use 1111 couplers.

I started this with an old Con-Cor Long Bay Window Caboose that was lettered for MOW.

Did this one on my desk, because my workbench in the garage is too cluttered at the moment and it was a little too chilly out there!

First I ensured that there was adequate lighting so I could see what I was doing. I also wanted to have a white surface to work on because these parts are microscopic and black. So I got an old, small sheet of styrene I had laying around to use as the worksurface.

I read the instructions completely so there were no surprises.

2006_0220CouplerInstall0005

I disassembled the Caboose. Basically remove the Shell from the base of the thing. I'd already removed the trucks, Rapido couplers, and the ladder and platform from the end. Use a small screwdriver or hobby knife for that last. Attempt NOT to break this part (like I did on one end) while removing it. I'm replacing the ladder with a MicroTrains one so I cut the ladder off before I painted the caboose.


2006_0220CouplerRebuild20004


I then checked the draft gear adapter fit and like the instructions say it will not fit in the pocket.


2006_0220CouplerRebuild20005


Using a file, I trimmed the adapter so it is seated fully in the draft gear box. I checked the clearance often, because I didn't want to remove too much material from the adapter.


2006_0220CouplerRebuild20010


Here you see the adapter seated in the draft gearbox.


2006_0220CouplerRebuild20012


Tilt the adapter in the draft gear box so you can insert the spring and coupler assembly easily.


2006_0220CouplerRebuild20013


Assemble the 111 coupler as the instructions say to do. I use the MT coupler tweezers to hold mine together.


2006_0220CouplerRebuild20016


I've found the best way to handle these teensy springs is with a No. 11 blade.

Insert the spring into the adapter. And yes, a little saliva (yes, spit) on the end of the spring does help hold the spring to the back of the adapter.


2006_0220CouplerRebuild20018


Now insert the T-shanks of the coupler assembly into the adapter. Make sure the T-shanks are fully in the draft gear box.


2006_0220CouplerRebuild20019


Seat the adapter fully in the draft gear box.
Make sure the coupler has movement in the correct ways.


2006_0220CouplerRebuild20020


Replace the draft gearbox cover.


Repeat for the opposite end of the car.

Finis!

Friday, February 17, 2006

MoPac Cabeese Any One?

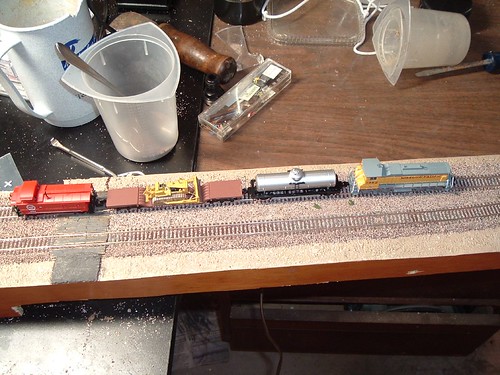
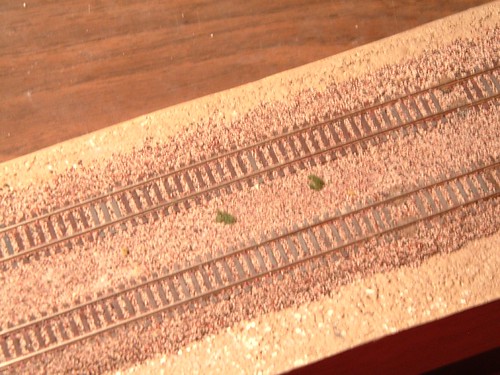
Not much happening with my Test Track Project right now...

But I do have three caboose bashes going on.

I kinda got a little (Yeah...Right! A little...Hah!) sidetracked by a thread on Trainboard - Kitbashing a MoPac Caboose. I've been a little busy with these...


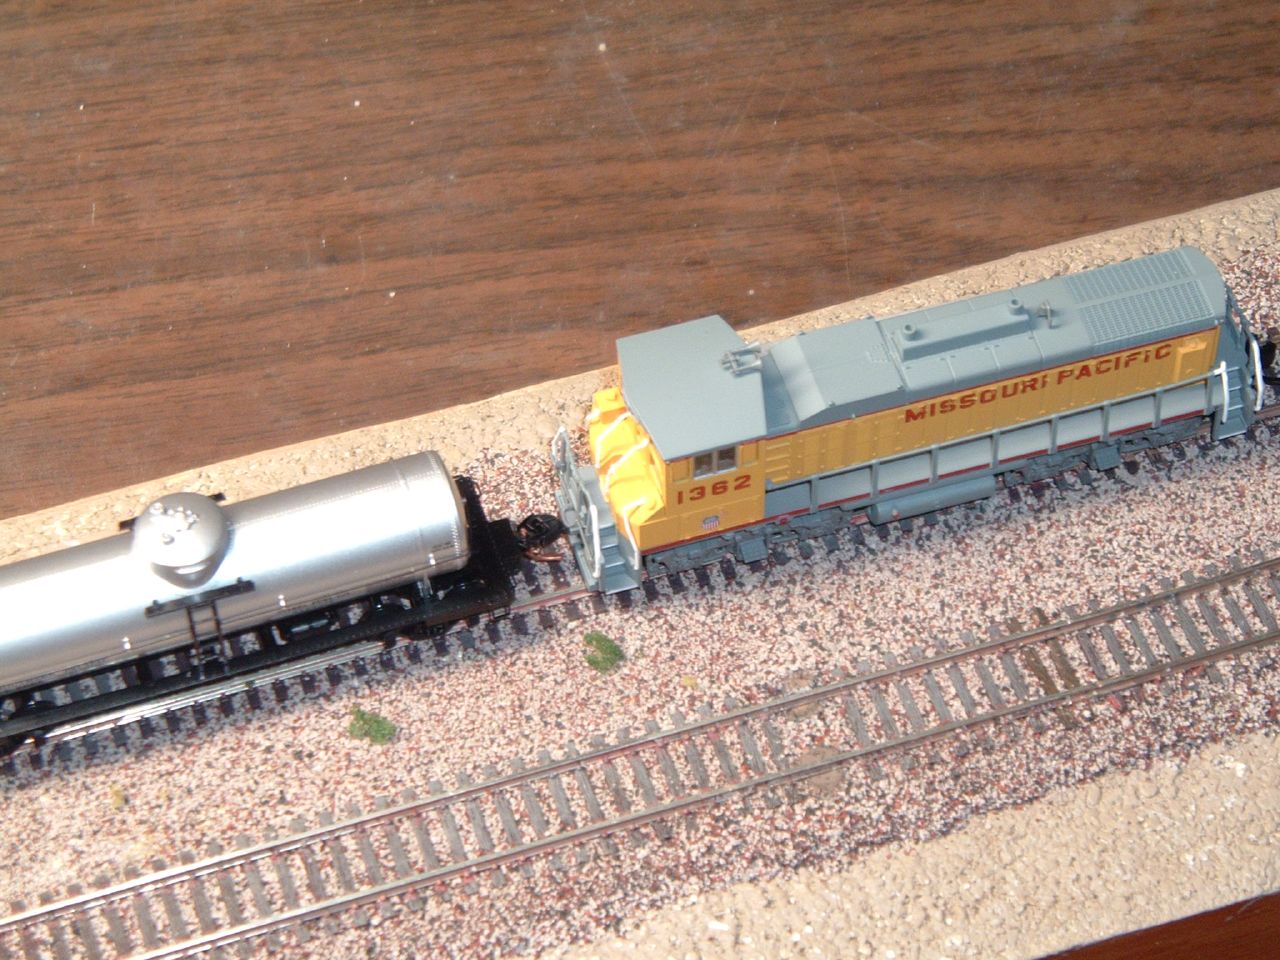
For the un-initiated, MoPac is short for the Missouri Pacific Railroad. It's one of my favorite roads.

The Colonel(administrator paul), an Aussie N Scaler of some note, resides in Sydney, Australia, started the thread. He started with a MoPac Short Bay Window Caboose or "SBW". He did 2 of these and then moved on to a modified cupola caboose and this is where I started really paying attention. He then went through a "Transfer Caboose" which looked to me like a modified Standard Steel Welded (or SSW) hack. Then an Extended Vision (EV).

By the way - Paul will have a published article in the next issue of NScale Railroading Magazine - Congrats Paul!

(All of the picture links in the above paragraph of "Preserved Cabeese" are from Elvin Klepzig's site on Preserved Missouri Pacific Cabboses on his Doniphan Branch Railway pages - Thanx Elvin! Except for the Trainboard link)


I thought to myself, "You could do a couple of these...Just for a stretch and something different to do.."
Well, it turned into another "Test" for TexasT's. Painting and detailing were okay, but decaling, Oh my God, you'd have thought I'd never built a model in my life. (well, it has been a while, but still).

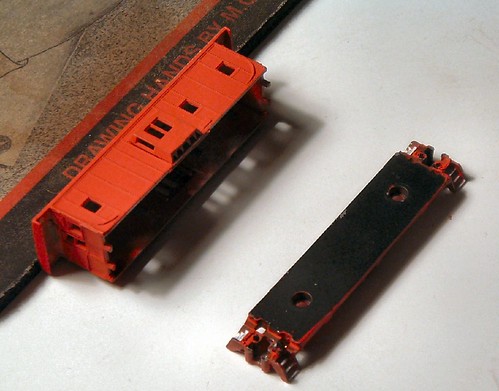
So, I've got three in the pipeline now. A Standard Steel Riveted or SSR. A Long Bay Window (LBW) and an Extended Vision (EV). These are coming along nicely but it is taking longer than I thought it would. Mostly because of the atrophied modeling skills of your host. My SSR bash started life as a Atlas standard caboose lettered for Missouri Pacific. The LBW started as an Con-Cor, MOW caboose. And the Extended Vision Cab was an Atlas EV caboose lettered for Seaboard Coast Line.


I've had to, because of some silly assed mistakes, strip the Long Bay Window (Ithink I'm up to) three times now. And the SSR twice(!)

I was going to document these bashes, but by the time I remembered to get the dang camera, I was already too far along. So I'll have finished photos, but nothing in progress unless I start in the middle.


And Pilgrim, that just ain't gonna happen...

So I have these three in various stages of UN-assembly:

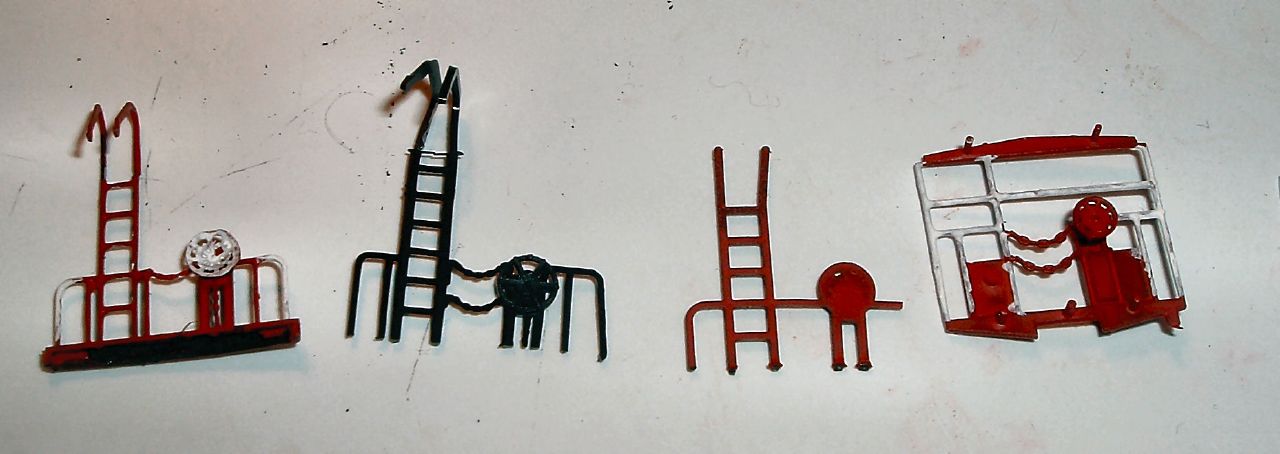
  • The LBW is awaiting yet another coat of Caboose Red. Roof has been painted Reefer White. Again (sigh) Some of the add-ons still need work.
  • The SSR is decaled - awaiting dullcoat and reassembly. All the add-on parts have been (mostly) painted.
  • The EV has been painted - Reefer White for the roof and Caboose Red for the body. The stock end rails have been painted as well. The trucks are still waiting for paint.

So there you have it...Hope to finish one or two this weekend...And pictures next week!

Thanx and a tip o' the hat to the Colonel for the inspiration.

World's Smallest Operating Layout??


Now here's an intrepid modeller. David K. Smith has built what might be the world's smallest operating layout, "The Sceniced and Ridiculously Small Railroad".

This layout measures 4 X 8 feet in Nscale measurements. That's what I call small.

Check this link:
The Sceniced and Ridiculously Small Railroad.

Saturday, February 04, 2006

Finished Ballasting the Track

Just thought to post a few pictures of the ballasted track. Here's how it looks at the crossing.
2006_0125Ballast0007


I don't think it's turned out too bad.

2006_0126trainntracks0001


Here's just the track without any distractions.
2006_0126trainntracks0023


And here is our new friend. Let me introduce you to "Mr. Ballasting Tool"!
Ballasting tool


And this is the top turnout. I put a Caboose Industries switchstand in here this week.

2006_0125Ballast0009


Got the magnets in too. Can you spot this pair of uncoupling magnets?

2006_0126trainntracks0003

For my next trick Bashing a MOPAC Caboose! Next post