


Speaking of Cabeese - How About a Little Coupler Action?
| The LBW and EV Cabeese are ready for decaling. Wish (at this point) I'd have taken pictures of ALL the Cabeese before I started to work on them. C'est la vie! Yesterday I worked on a MicroTrains coupler conversion for my MoPac Long Bay Window Ca-Bash. Thought I'd share that. The MicroTrains conversion tables say to use 1111 couplers. I started this with an old Con-Cor Long Bay Window Caboose that was lettered for MOW. Did this one on my desk, because my workbench in the garage is too cluttered at the moment and it was a little too chilly out there! First I ensured that there was adequate lighting so I could see what I was doing. I also wanted to have a white surface to work on because these parts are microscopic and black. So I got an old, small sheet of styrene I had laying around to use as the worksurface. I read the instructions completely so there were no surprises. 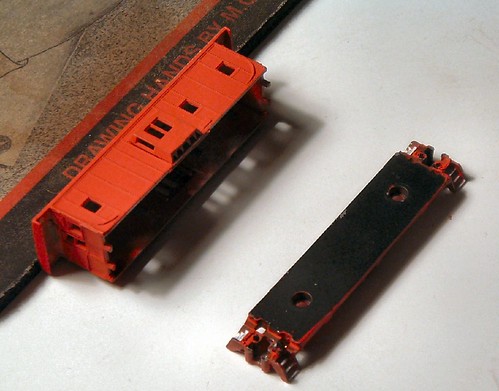 I disassembled the Caboose. Basically remove the Shell from the base of the thing. I'd already removed the trucks, Rapido couplers, and the ladder and platform from the end. Use a small screwdriver or hobby knife for that last. Attempt NOT to break this part (like I did on one end) while removing it. I'm replacing the ladder with a MicroTrains one so I cut the ladder off before I painted the caboose. 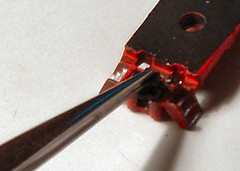 I then checked the draft gear adapter fit and like the instructions say it will not fit in the pocket. 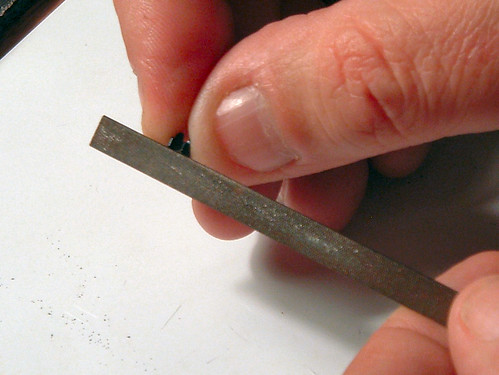 Using a file, I trimmed the adapter so it is seated fully in the draft gear box. I checked the clearance often, because I didn't want to remove too much material from the adapter. 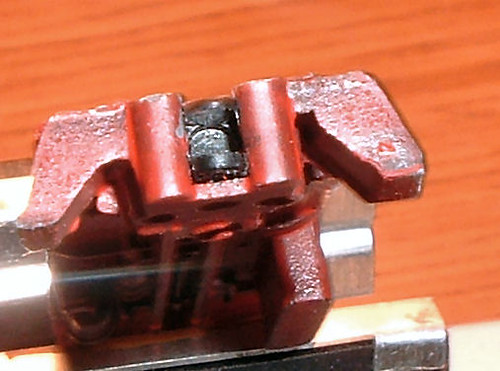 Here you see the adapter seated in the draft gearbox. 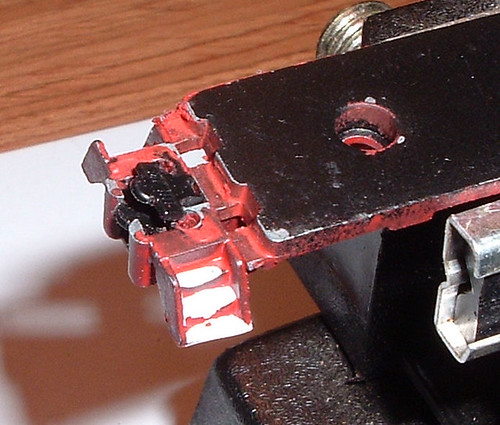 Tilt the adapter in the draft gear box so you can insert the spring and coupler assembly easily. 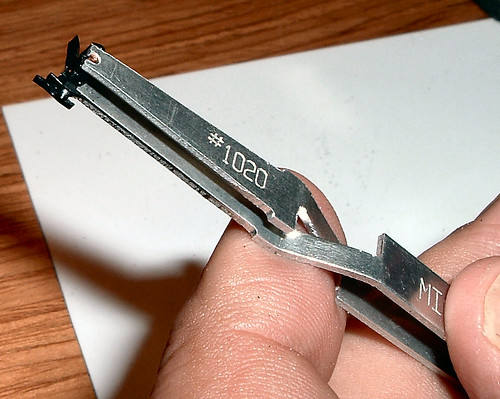 Assemble the 111 coupler as the instructions say to do. I use the MT coupler tweezers to hold mine together. 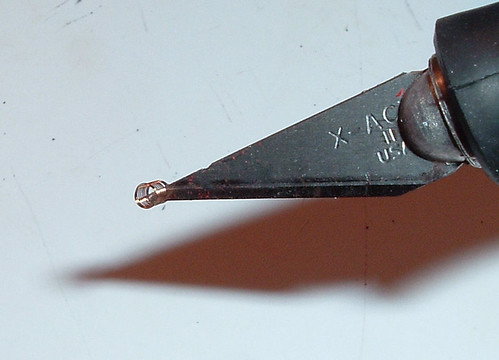 I've found the best way to handle these teensy springs is with a No. 11 blade. Insert the spring into the adapter. And yes, a little saliva (yes, spit) on the end of the spring does help hold the spring to the back of the adapter. 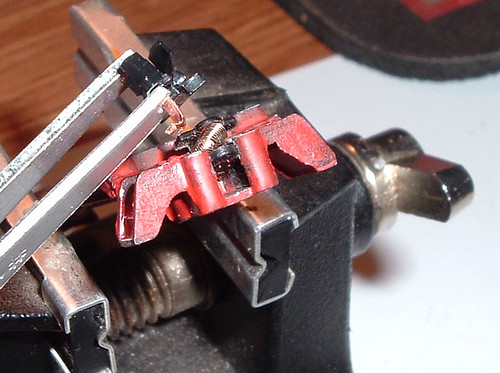 Now insert the T-shanks of the coupler assembly into the adapter. Make sure the T-shanks are fully in the draft gear box. 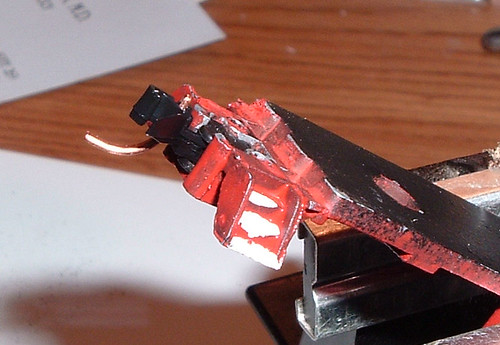 Seat the adapter fully in the draft gear box. Make sure the coupler has movement in the correct ways. 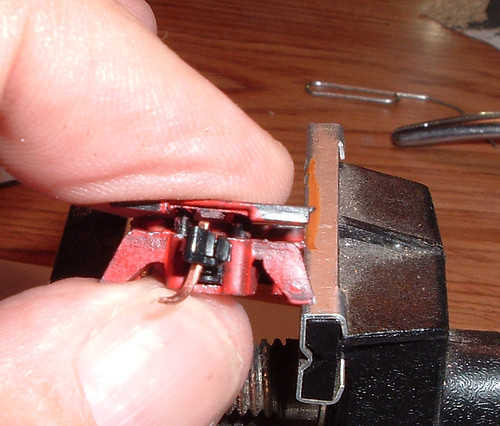 Replace the draft gearbox cover. Repeat for the opposite end of the car. Finis! |
posted by TexasT's at 7:39 PM
![]()
![]()
Comments on "Speaking of Cabeese - How About a Little Coupler Action?"
post a comment