


Project: Test Track: Tunnel Portal – Weekend of November 19
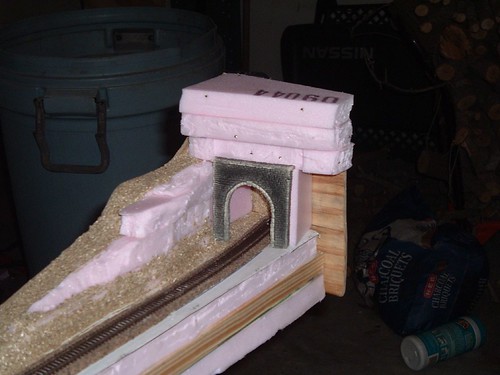
I had decided to install a tunnel portal in the end of my test track. This also turned out to be a test, as I had never used a tunnel portal on a layout before. The last layout I constructed was a cookie cutter type and did not include any underground track. Working with foam board was a new experience as well.
I had heard in various places about a tool that could be used for shaping foam made by Stanley. I had seen what this tool was capable of at Gordon Bliss’ layout, All The Way With Santa Fe! His huge layout (Takes up the space of a 2 car garage and them some!) makes extensive use of foam. I had to make a trip to the local Home Depot for some hollow wall anchors to re-mount a CD or Video cabinet in the den. My son (I wasn’t at home at the time) had the bright idea before the non-event (for us, anyway) of Hurricane Rita to pull both the cabinets off the wall and cart them upstairs along with the CD’s and Video’s. His mother, the Queen, endorsed this little project. Fortunately, for all involved, the task of getting even one of them off the wall proved to be more of an effort that either of them were willing to expend energy on at the time. I had used sheetrock screws to secure the cases at the time of installation and miracle of miracles, had hit a stud behind the top bracket. When the bottom screws were removed the top one had held. Now, however since I was going to have to re-do the work, the screws in the bottom bracket, of course would no longer bite as the holes had become somewhat enlarged when they were removed. Hence the trip to the hardware store for molly screws…
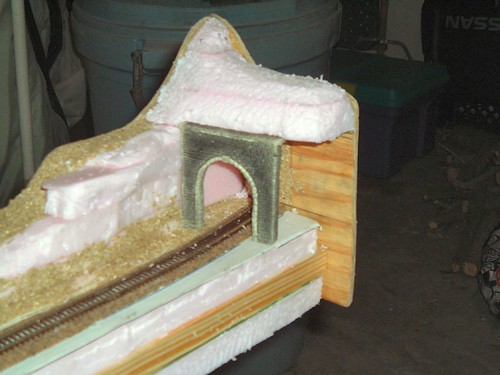
What a difference! As you pull the tool over the foam, it shaves a layer off. It is kind of messy. But you are shaving foam after all. Depending on how much pressure is used you can shave a lot or a little off. In no time at all I had pretty much the shape I thought should be there. Cool stuff! I definitely, can now recommend Foam as a building medium for layouts. Check out these results. |
posted by TexasT's at 7:23 PM
![]()
![]()
Comments on "Project: Test Track: Tunnel Portal – Weekend of November 19"
-
 Anonymous said ... (Tuesday, November 22, 2005 2:02:00 PM) :
post a commentHi T
The tunnel looks good, and I would call it a rasp as well! I don't really think you were trying with the foam though - check this out for real workmanship in foam! http://www.modeltracks.co.uk/smallworld/polymess.htm
Best wishes,
Jules